Creator Resource: Animated Water Texture in GIMP
GIMP version used in this tutorial: 2.8.2
Different versions to the major 2.8 release may have the filters and options placed and named differently. You'll have to check where the options are in that case in your GIMP version, for they may not correspond exactly with the ones explained here.
What you'll learn here:
- Creating the Base Texture
- Seamless water for sliding water effects
- Making GIMP to generate the animation frames, and learn also how to make the animation to be seamless \o/
- Putting the frames together to create a suitable texture to be used in SL
- Extra: How to make an animated GIF of our water texture, to demo it in Marketplace
This tutorial is intended for those having the following minimum knowledge of GIMP:
- Working with layers
- Using the grid/guides
- Using filters
If you've never used the grid/guides, nor filters, but you do know how to work with layers, you may still follow this by making sure you follow the exact steps indicated. If you have no knowledge about working with layers in GIMP, consider reading some information about and practicing prior to follow this :-)
Also, this tutorial gives a lot of information and alternatives for you to try in each step. If this confuses you at first, follow the tutorial only with the first given alternative per section, temporarily ignoring all the "asides", "notes" and "you can also try", and once completed, then read all the other information on how to make variations, seamless base textures, seamless animations... to make the best of it.
This said, let's first explain the idea after the effect we want to achieve. We're going to create a texture that, when animated by a script in SL, will look as follows (the whole animation may take some seconds until downloading complete to your browser's cache):
Because of the way the texture is animated, it means that we'll have to create several frames, and then merge all of them together in the same texture. The reason for the latter is that the required scripting function demands the texture to be animated to be just one texture: if we want to animate frames, we have to put them all together in the same texture.
The process of merging all the frames together to create a single texture containing them all, will be explained by the end. We are going to focus first in creating the animation frames separately, and for that, the process will be creating a base frame texture, and then using a GIMP filter that will create all the other frames.
Creating the Base Texture
Let's begin by creating a new image, of size 512x512 pixels:
We'll be working here the base frame.
Now, a little bit of useful information about GIMP: under the "Filters: Render" menu, GIMP has several choices that will CREATE a texture, and we will be able of modifying some parameters, that will change aspects of this texture.
For example, "Filters: Render: Clouds" contains a few filters that will generate cloud-alike textures:
And after exploring the filters under the "Filters: Render" menu, we find one that at first, doesn't look like what we would be after. It's called "Lava" in the end! Lava doesn't suggest water :-)
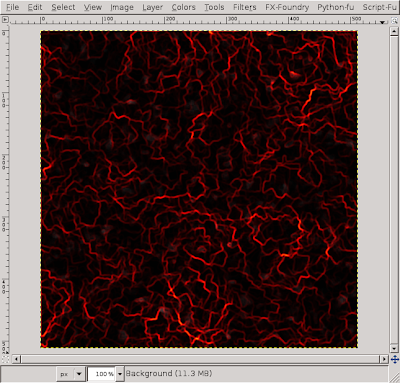
So we go for "Filters: Render: Lava", and GIMP presents us the following window:
Let's accept for now the default parameters and observe the result, which when using this filter, is always produced on a new layer if the "Separate layer" box is ticked (default choice):
Well, interesting result, but how this could resemble to water in any way? Let's explain the main parameters we can modify in this filter, and we'll begin noticing the similarities.
The first parameter we find for this filter is "Seed". This "Seed" parameter is an initial value that is taken by the generator, influencing the distribution of the segments. The patterns are generated pseudo-randomly. The same seed number may yield different segment distributions each time (like the picture below shows), but giving "Seed" a different value each time, we'll sure obtain different patterns for our base texture.
Next we find the "Size" parameter. "Size" has an influence over the length of the "lava segments". Too high a value and we'll have here a few lines with long almost squared turns, which will not be useful for our effect.
Useful values for us will be between 5 and 15. However, be aware that when size is too low, the generated layer may have some "alpha gaps", noticeable only when you copy it and paste somewhere else. Something you can do is creating a background layer with a color the closest possible to the background lava color, below the lava layer, and then merge the lava layer down to this solid background. The alpha holes will be covered this way.
Now we find "Roughness". The "Roughness" parameter influences over the size of the "waves" that separate the "lava segments".
At this moment, the similarities with water are more apparent. If only we could easily change the colors used in this "Lava" filter!
Wait... We can, indeed, easily change the colors :-)
We can, because the next important parameter that the "Lava" filter gives to us is... the color gradient we want to use for it! This is, we're not constrained to using only the gradient generating the lava texture. We can use other gradients. Like for example, variations from blue to green, which is a color we'll likely see in water :-)
So, for example, using the following values:
  Seed       23
  Size       11
  Roughness  27
we can now obtain the following results, by simply selecting a different gradient, when we click for the "Filters: Render: Lava" window:
We can of course use gradients that have nothing to do with water, for creating "specials":
and we can even create our own gradient, then use it here.
Then we may continue working on this generated texture, for a better base water texture, but for the purposes of this tutorial, we'll work with a base texture obtained by using the "Filters: Render: Lava" filter with the following parameters:
Now, in order to save this file, let's first remove the transparent background layer that remained when we started creating a new image:
We have to click to select it, and then delete it. We know it's the selected one because it will be highlighted in blue. It's obvious in the screenshot above that the transparent background is not the selected layer :-)
Save your work in your hard drive with a name like "Water_BaseTexture_Test.xcf"
Seamless water for sliding water effects
This texture is obviously not seamless, so it would not be suitable to be used in sliding water effects. If you want to make it seamless, this is very easy in GIMP.
First duplicate the generated layer, to keep a backup of the non-seamless one:
Now, select the following option, "Filters: Map: Make Seamless", and there we go!
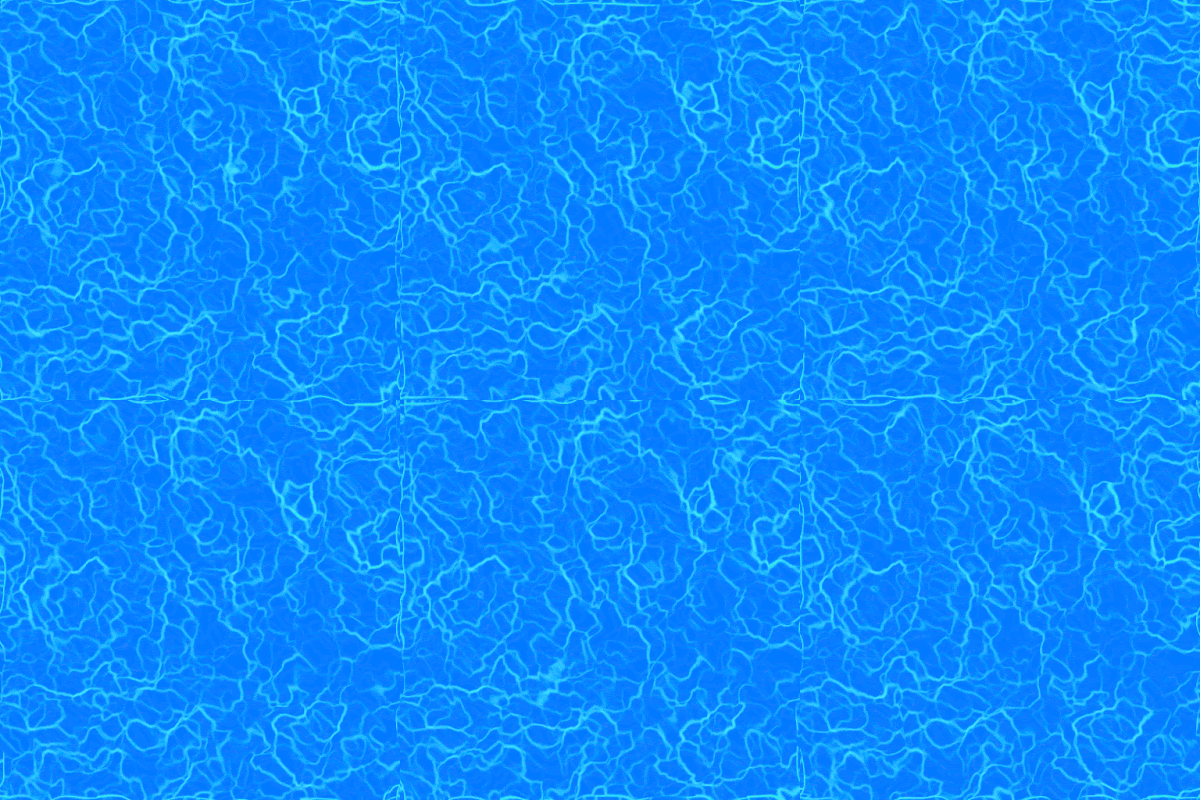
Seamless base texture, or that can directly be used in sliding water effects :-)
Making GIMP to generate the animation frames, and learn also how to make the animation to be seamless \o/
This is the fun step. We're going to tell GIMP "animate this!" and it's going to say "Yes Miss" :o) (or "Yes Mr", or whatever else you prefer.)
Let's suppose we'll be creating a 16 frames water animation (the 16 frames because of a 4x4 distribution over the texture), and give a first try to "Filters: Animation: Waves...", by only changing the number of frames to 16, leaving the rest set to the default values:
This creates a new GIMP-document containing the 16 frames, each one in a different layer:
Save this new GIMP-document as "Water_WaveAnimation_16frames_Test.xcf" before continuing.
It would be nice if we could first display the animation somehow, before doing more work. We can, indeed, do this. All we need to do is clicking the "Filters: Animation: Playback..." option, which will open the animation player in a new window:
From there, we can play the animation, stop it (clicking on the "Play" button, which looks pressed when the animation is running), and close the window if we like the result. For the purposes of this tutorial, we like the result :o)
Of course, once you get the hang of this, play with the amplitude and wavelength values, to obtain different animations (in the following picture, amplitude was set to 20 and wavelength to 15):
This is not the only animation effect we may use for water. We can also try our hand with "Filters: Animation: Rippling...", which produces a rippling effect instead of waves:
Careful: If you give too much of a high value to "Rippling Strength", the effect, when played, will look psychedelic to say the least :-)
Try also with "Smear" for the "Edge behavior" parameter if you use "Rippling".
Historical note: When I started digging into the GIMP filters to create animated water, my base texture was a colored render-plasma layer that I first distorted with iWarp and later blurred with Gaussian Blur. Then I used Rippling to animate it. It looked weird, but convincing, for sort of plasma-witches-cursed-soups. You may want to give this a try too :-)
NOTE: Seamless animation for rippling, so I can tile several prims with it? Can I haz?
Of course you "can haz" :-)
What you should do, is make each frame seamless on its own. This is as simple as selecting one layer in the layers window, then applying the "Filters: Map: Make Seamless" function. Click to select next layer, and again, "Filters: Map: Make Seamless". Rinse and repeat, until you have them all :-)
BONUS: If you do this in the "Waves" kind of animation, you'll be able to seamlessly tile several prims with waves, for the way the seamless filter works in GIMP, will add a quarter of a wave in each corner. Way cool!
Putting the frames together to create a suitable texture to be used in SL
Once we have all the animation frames generated by GIMP, we have to put them together into one single texture that will be later used by a script.
As we know, textures in SL have its size limited to 1024x1024 pixels. The animation we've created has 16 frames, that can be distributed as 4x4 horizontal-vertical cells over this 1024x1024 horizontal-vertical pixels. This means that the size of each frame has to be:
  Horizontal  1024/4 = 256
  Vertical    1024/4 = 256
So the resolution of each frame has to be 256x256, so we can put them all together on a single 1024x1024 texture.
Let's save our "Water_WaveAnimation_16frames_Test.xcf" with a new name, for example, "Water_WaveAnimation_16frames_Test_256x256.xcf", and close the previous one, "Water_WaveAnimation_16frames_Test.xcf" (We want to keep copies of our work at better resolution, in case we need to redo it. If we go from high resolution to lower resolution, we will not lose detail, but if we go from lower resolution to high resolution, we will lose detail!)
Now, in this "Water_WaveAnimation_16frames_Test_256x256.xcf", we select "Image: Scale Image..." from the menu, which will show the following window:
We type 256 in X, and since the chain icon (next to the X Y edit boxes) is activated, that will calculate 256 automatically for Y as we hit TAB to exit the X edit box. Then we accept, and GIMP will resize the image to half its size in both X and Y, which means, all the contained layers will be scaled down too. When we have this, we save this image and close it :-)
Let's think now in how to compose the final texture that we will upload to SL. First, create a new image, 1024x1024 this time (the size of the definitive texture) and save it as "Waves_Test.xcf" immediately (so you can comfortably save as you go hitting CTRL S)
Now, over this image, we have to put together all the frames, by placing them in a specific configuration:
At first glance, it looks like it's going to be difficult to achieve that exact positioning of the layers. Nothing further than the truth, though. GIMP allows us two ways of achieving exact positioning of our layers over the image. One of those ways is by using guides, the other way is by using a grid. Both ways have the same in common: we can create "lines" over the image whose only function is to "attract" the layers if we move them close to where those "guides" are. The layers will snap into place easily.
So we're going to study how to create an arrangement of guides that could serve us, and we'll also learn how to do this with GIMP's grid.
Create another 1024x1024 image where we'll study this. We don't need to save this one.
Method 1: The Guides
First, for the guides. Make sure that the "View: Show Guides" and "View: Snap to Guides" options are ticked. Now click "Image: Guides: New Guide (by Percent)", which brings up the window:
If we accept, we'll see the guide added to our layout:
If we think in our 4x4 required arrangement, we see that we will need to place three guides horizontally, another three guides vertically, having the following percentages each: 25%, 50%, 75%
(Why those percentages? Because there are 4 frames horizontally, 4 frames vertically, so we need in each direction guides that give us the exact position for the first 1/4 of width/height, the second 1/4, etc. When we divide 100% by 4 we get 25%, which means, the guides have to be separated that percentage, so the 4 frames fit.)
After placing the guides, by clicking all the times the "Image: Guides: New Guide (by Percent)" option and then selecting the 25%, 50%, 75% percentages in both horizontal and vertical, our layout looks like:
Now do the following experiment to understand how layers are "attracted" to the guides when we move a layer close to them. Create a new layer in the picture, with white background:
Move the layer close to the guides in the picture below. Because the mentioned option before, "View: Snap to Guides", is ticked, the layer will snap exactly to the corner:
Delete this layer if you wish.
Method 2: The GridIf you don't know how to remove the guides from your layout, then close without saving the example we've done with the guides and create yet another 1024x1024 pixels image to make our grid practice. After completing this tutorial, you can head over the GIMP documentation page to learn about manipulating guides in GIMP. If you know how to remove the guides from your layout, then simply remove the guides we've added in the previous method-explanation :-)
Make sure that the "View: Show Grid" and "View: Snap to Grid" options are ticked. Now click "Image: Configure Grid...", which brings up the window:
Since we want to have a 4x4 grid, that means we have to divide our 1024x1024 pixels in 1024/4 x 1024/4, this is, 256x256 pixels areas, so we type 256 and 256 for width and height, and our layout changes to:
We see that this option has drawn a grid of lines on our image. However, those lines aren't visible pixels that will be saved in our image. Those lines play the role of the guides we've used before. By having "View: Snap to Grid" ticked, when we move our layers close to them, the layers will snap to the grid lines, exactly as we've seen happen with the guides.
Close this practice image and let's go back to "Waves_Test.xcf"
Now either prepare a grid of guides, as explained, or set up the 4x4 grid. Next is importing as layers all the frames of the animation, already resized to 256x256 pixels. We do this by following the "File: Open as Layers..." option from the menu, and selecting the "Water_WaveAnimation_16frames_Test_256x256.xcf" file we saved before.
This will open the 16 frames as separate layers in our image:
Now select the layer named "Frame 1" in the layers stack. Move it to the position it should occupy, according to the frames distribution image that we've studied before, so the final result is:
Now select the layer named "Frame 2 (replace)" in the layers stack, and move it to its position:
Same for layer "Frame 3 (replace)":
and we continue until all layers are correctly placed over the texture:
Don't forget to save it!
Finally, we have to save our image. For this, we first make sure we've saved the .xcf file (CTRL S). Now, saving files in GIMP as image files (PNG, GIF, JPG, etc.) is different since the 2.8 version.
First, select "File: Export to" from the menu, locate where in your hard drive you want to save the file, and type a finishing .png as extension, to tell GIMP that we want a PNG file. This will export the PNG file with alpha channel. If our texture shouldn't have alpha channel (transparency), then we have to do one more step.
This step would be open the PNG image we've just exported, then click Image: Flatten Image so the alpha channel is removed, and then "Export to" again over the same image. It's cumbersome, but it's the way it's done now >.<
If you don't know if your texture should or should not have alpha channel, this is a simple rule of thumb: if the image has no transparent visible pixels, then it should not have alpha channel, and so you have to remove it by flattening, and export again it as we've explained :-)
Log into SL, go to the "Build: Upload: Image" option, select the texture on your computer, and upload it. Congratulations! Your texture is inworld and ready to be used. Now that you have this texture, head over the "Creating Zero lag animated water" tutorial, to learn how to script this in SL, so you have your finished water objects... not creating server side lag!
NOTE: Now that you've learned the hard way, this is, importing all the layers, using the grid, or the guides... You can benefit from a script created by Pedro Oval, that you can install in GIMP, and will help you converting all the layers to a texture suitable for being animated under a script in SL.
Extra: How to make an animated GIF of our water texture, to demo it in Marketplace
This is going to be easy :-)
Open the file having each frame as a separate layer, "Water_WaveAnimation_16frames_Test.xcf" from our tutorial. Then select the "File: Export to" option. Look where in your hard drive you want to save the file, and make sure you type a finishing .gif as extension, to tell GIMP you want a GIF file. When you accept, the following window will show:
Make sure you tick the "As animation" check box as well as the "Loop forever" one, add a signature if you wish in the "GIF comment" edit box, and hit "Export". Your GIF file with the animation is ready.
IMPORTANT: Since it's easy to convert an animated GIF to layers and get this way all the frames, when you upload an animated GIF to Marketplace, to show how your animated water looks like, make sure that all the frames are watermarked visibly, with big "Sample" words and your sign on it. Watermark them so a not-too-lazy person would require work enough to remove it as to prefer just not bothering :-)
-- Auryn Beorn
